
Last updated November 21, 2026
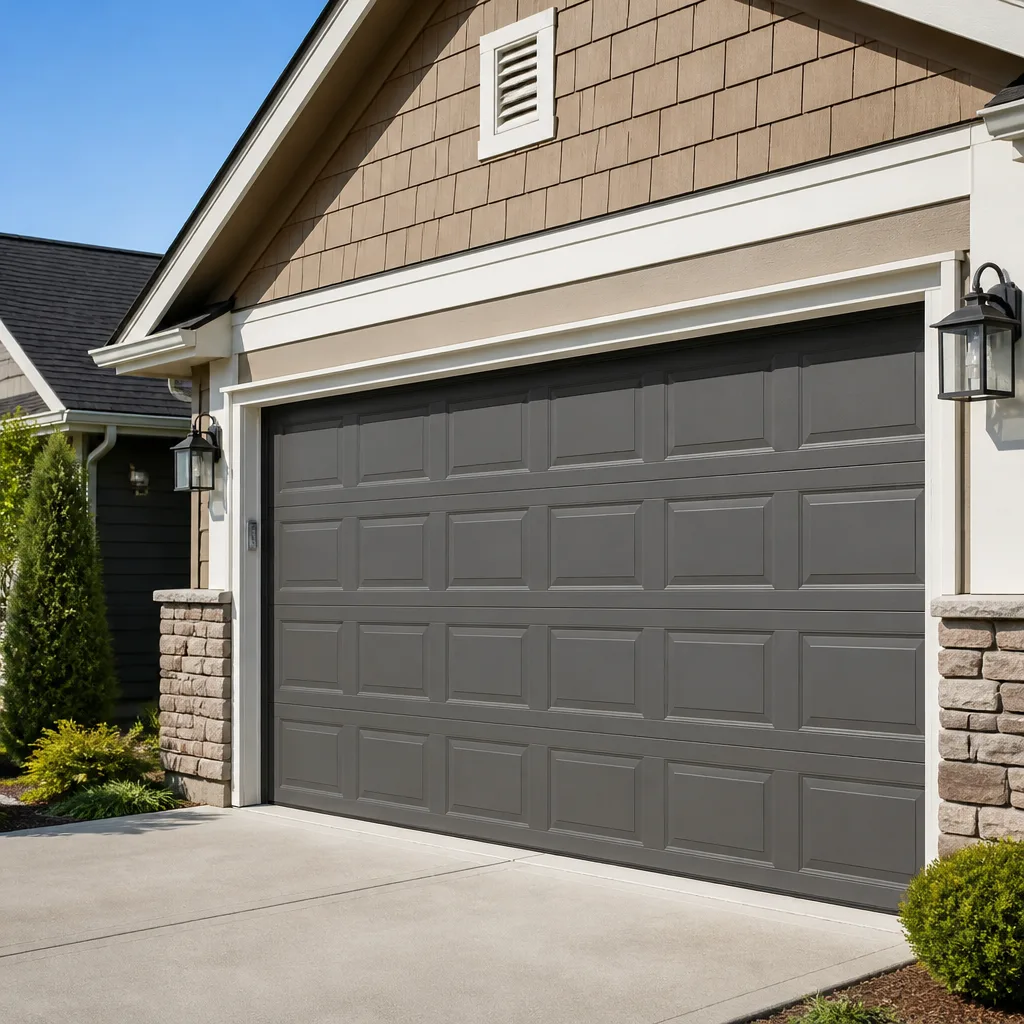 Raised-panel steel
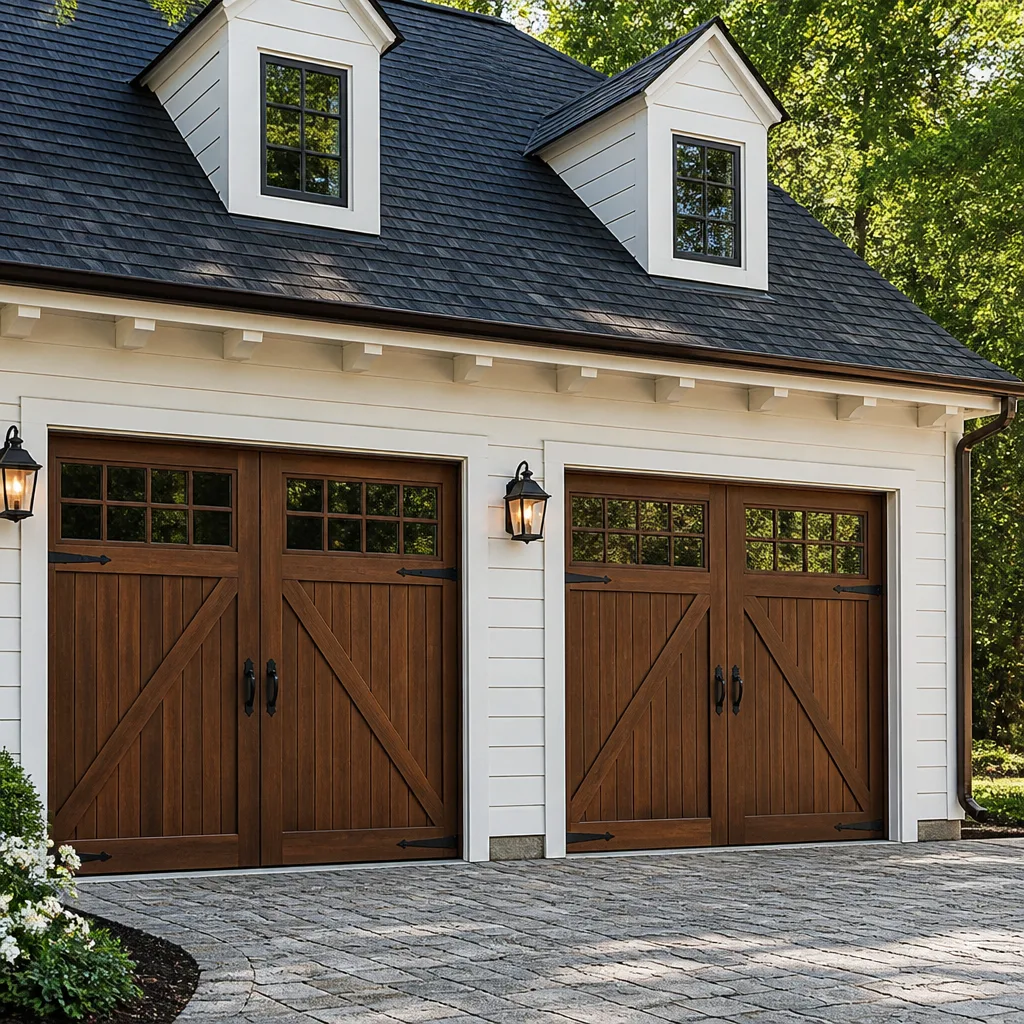 Carriage house
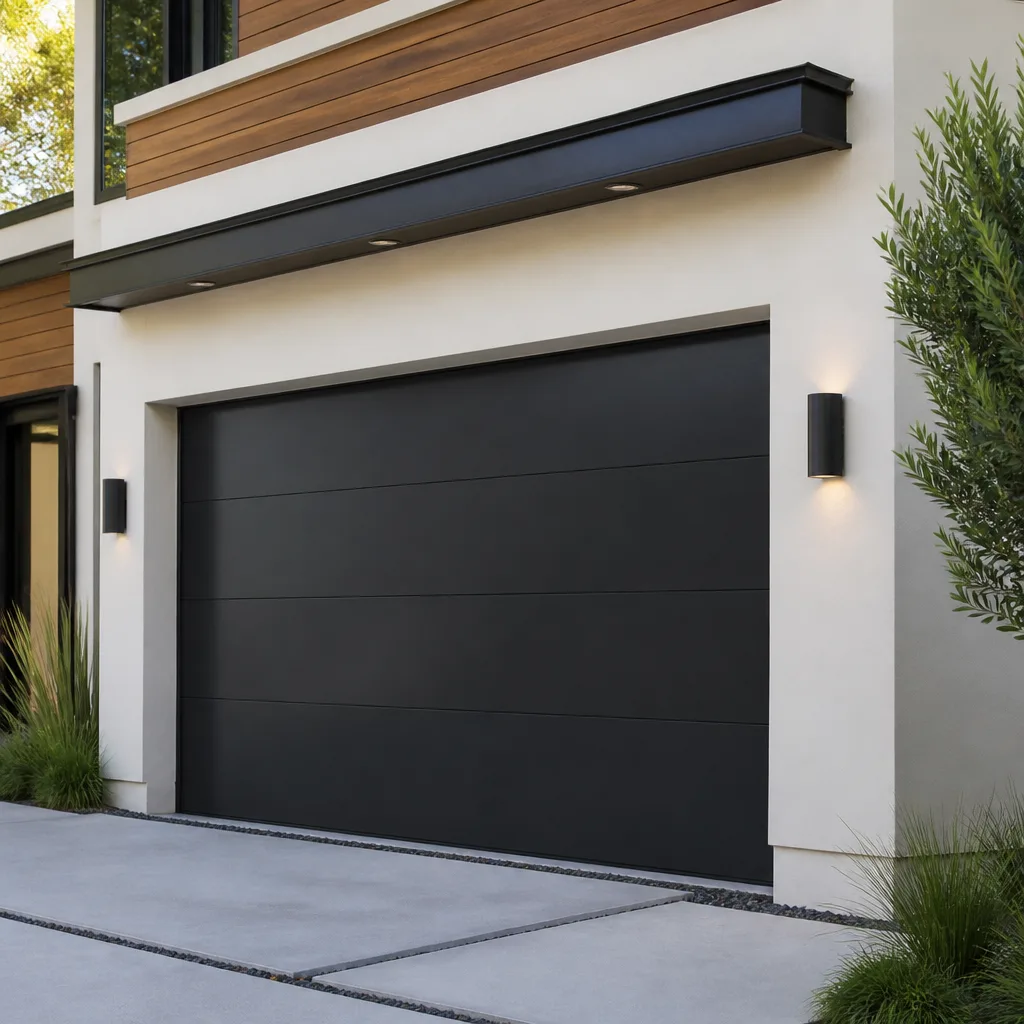 Modern flush
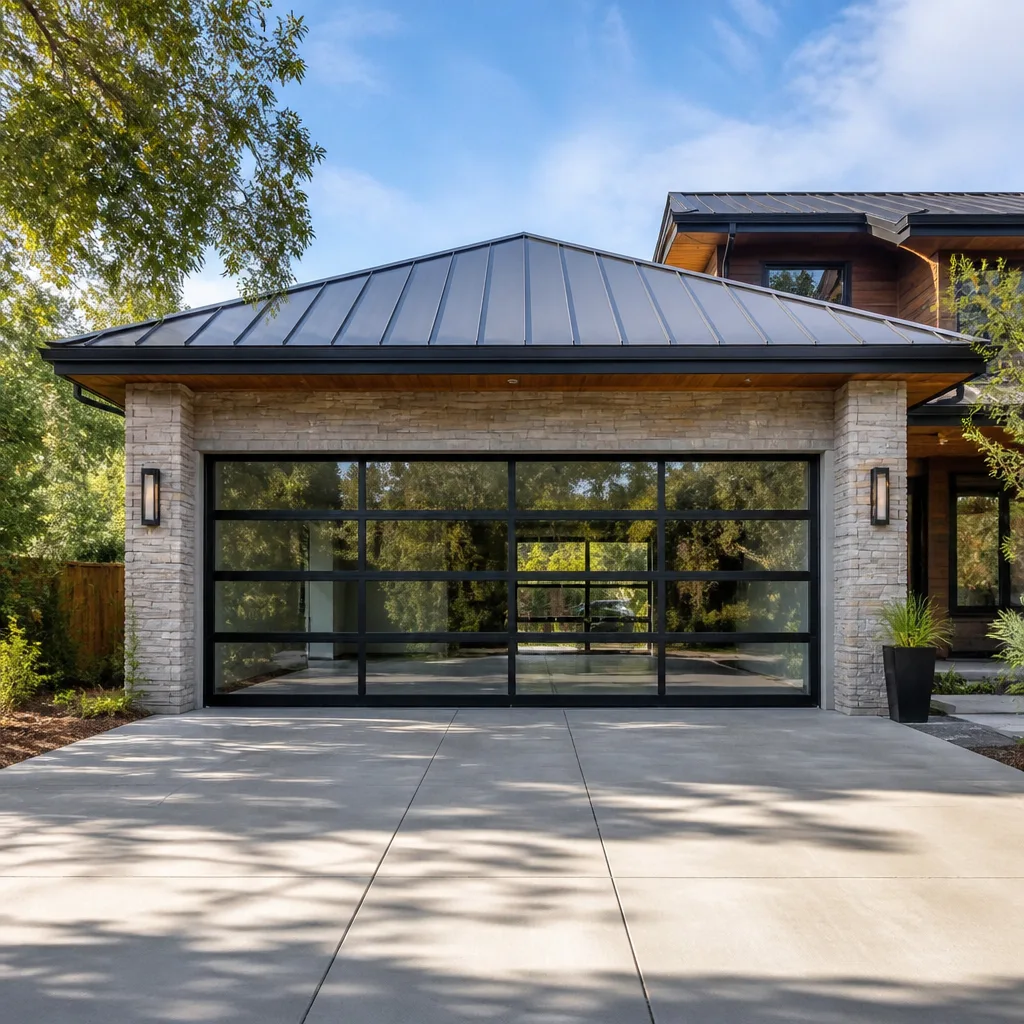 Full-view glass
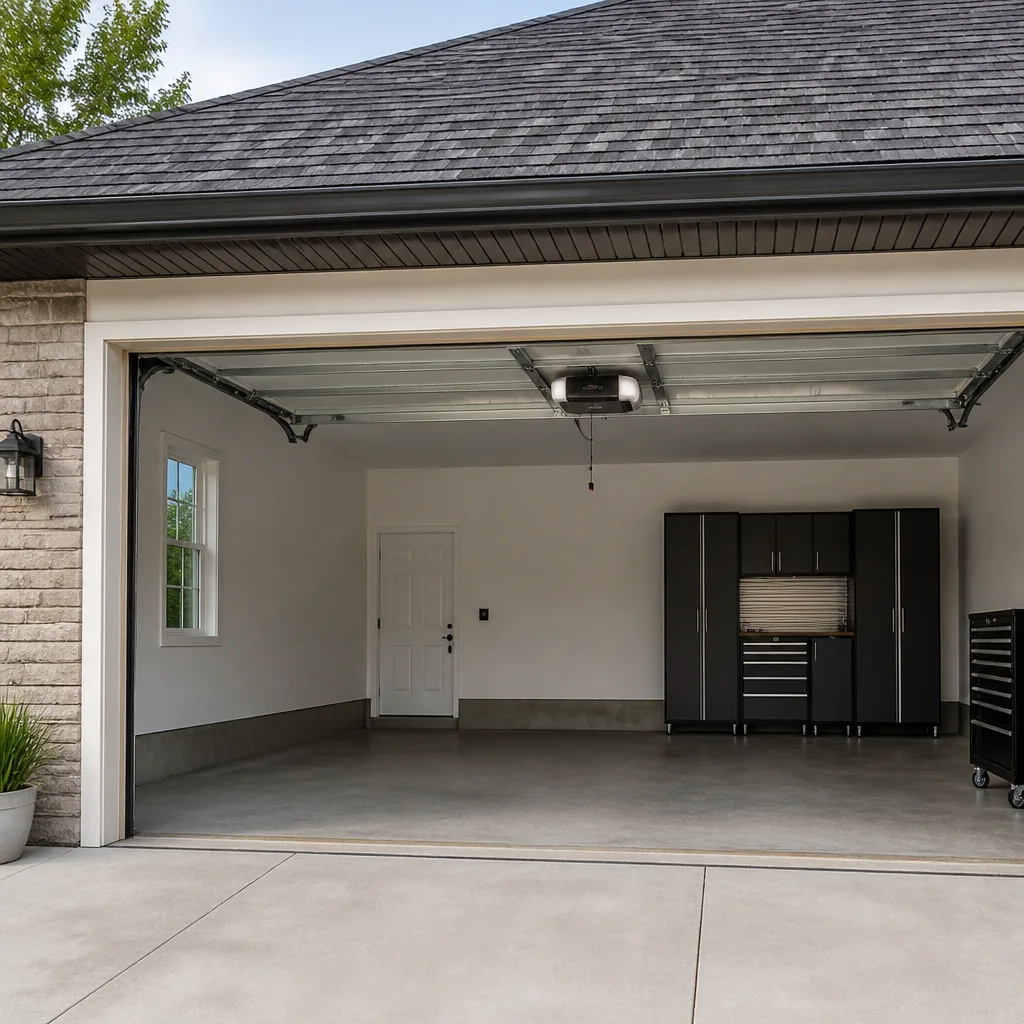 LiftMaster openers
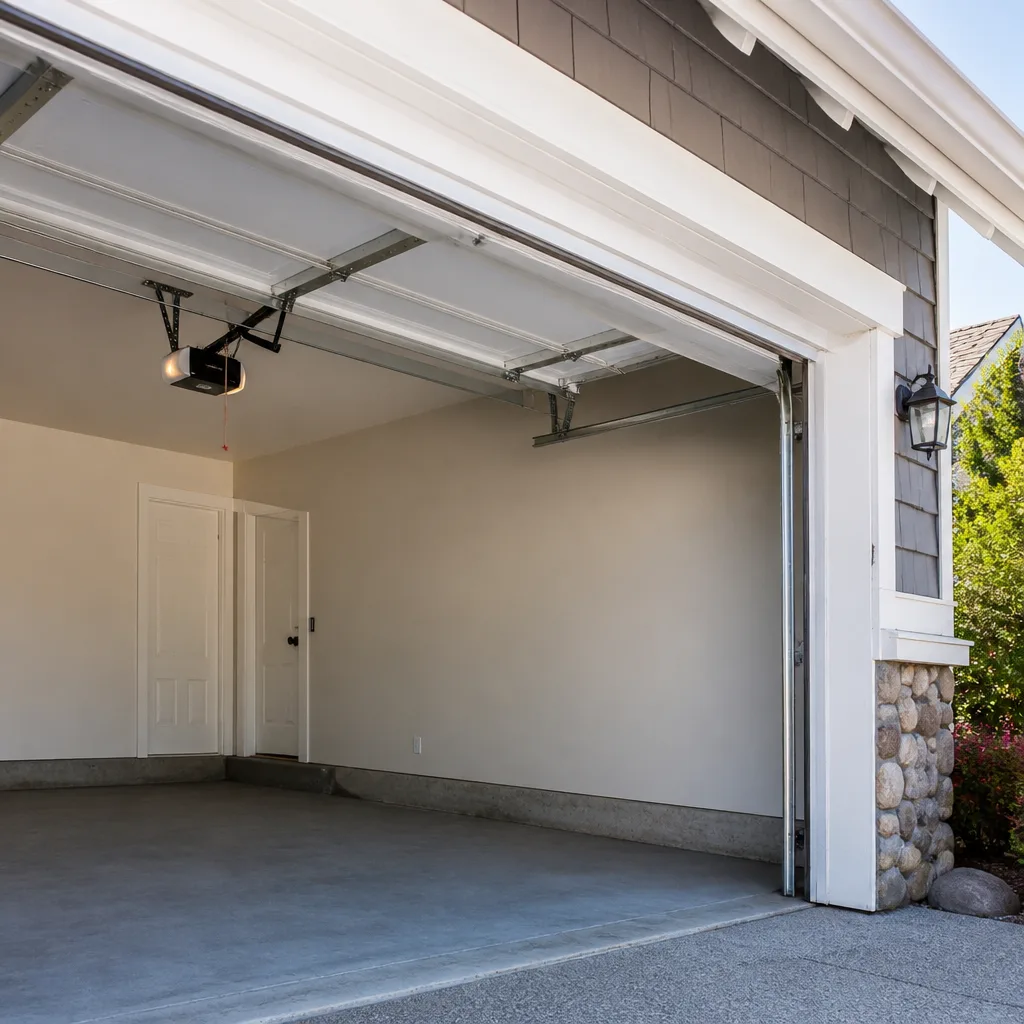 Chamberlain openers
Full 25-point door and opener safety check with every visit - springs, cables, rollers, tracks, and your LiftMaster or Chamberlain opener included
You get a price before we start. It does not change when the pro arrives.
Get your free estimateGarage Door Repair Maintenance Checklist for Lehigh Acres Homeowners
Most garage door maintenance advice floating around online was written for cold climates. Lubricate the rollers twice a year, watch for ice in the tracks, clear the snow. That guidance doesn’t map onto a Lehigh Acres garage. Here, the first parts to fail are usually the bottom seal and the torsion spring, and neither shows up on a generic checklist. Our approach is built around what actually breaks in Southwest Florida heat and wet-season humidity, ordered by how often we see it. Read on and you’ll get a month-by-month schedule, the inspection points that matter here, and the signs that mean it’s time to call a specialist.
Quick Answer
A garage door maintenance checklist for Lehigh Acres should prioritize bottom seal and weatherstripping inspection, torsion spring corrosion checks, opener surge protection after storm season, and cable drum and bearing plate wear from heat cycling. Standard twice-a-year lubrication still matters, but it’s not where failures start here. Focus on humidity, UV, and lightning surge first, then everything else follows.
Styles & brands we work with
- Raised-panel steel
- Carriage house
- Modern flush
- Full-view glass
- LiftMaster openers
- Chamberlain openers
Table of Contents
- Why a Lehigh Acres Checklist Looks Different
- Spring Corrosion: The Failure Most Checklists Miss
- Bottom Seal and Weatherstripping Inspection
- Surge Protection and Opener Battery Backup After Storm Season
- Cable Drums and Bearing Plates in High Heat
- A Month-by-Month Schedule for Lehigh Acres
- What You Can Check Safely and What You Shouldn’t Touch
- Common Mistakes to Avoid
- When to Call a Professional
- Frequently Asked Questions
- The Bottom Line
Why a Lehigh Acres Checklist Looks Different
Garage doors in Lehigh Acres live in conditions that most manufacturers’ maintenance guides don’t fully account for. The combination of year-round warmth, high humidity through the wet season, and intense UV exposure wears on door components in a different order than in colder parts of the country. Where a northern garage might lose a roller or a hinge first, a Lehigh Acres garage is more likely to lose a spring to rust or a bottom seal to sun damage.
Think about what a typical week looks like for a door here. It moves many times a day. The metal in the springs flexes with every cycle, and the air around it holds moisture that accelerates oxidation. The bottom seal presses into concrete that stays damp for days after a summer storm, then bakes in the sun. The opener’s circuit board sits in a garage that heats up fast and cools down slowly, and the electrical grid nearby takes lightning hits during the rainy season.
That weather pattern is why we recommend a maintenance checklist built from the ground up for this area rather than adapted from somewhere else. Here’s the order we see things fail:
- Bottom seal and perimeter weatherstripping – UV cracking and water damage, most common.
- Torsion or extension springs – humidity-driven corrosion leading to snap.
- Opener logic board and battery backup – surge damage after storms.
- Cable drums, bearing plates, and hinges – heat-expansion wear.
- Rollers and track alignment – the parts most generic checklists start with.
Notice that rollers come in last. That doesn’t mean they don’t matter. It means that in this climate, if you only have time to check a few things, the first three will save you more trouble.
Spring Corrosion: The Failure Most Checklists Miss
If there’s one part of your door that deserves attention before anything else in Lehigh Acres, it’s the springs. Torsion springs above the door and extension springs along the sides carry the full weight of the door. When they’re exposed to humid air day after day, they can develop surface oxidation long before you’d notice anything wrong with the door’s operation. That oxidation weakens the metal slowly, and the eventual failure is usually sudden: one cycle the door moves fine, the next the spring snaps.
What early oxidation looks like
Before a spring snaps, it usually gives you visible warnings. Here’s what to look for with the door fully closed and the opener disconnected so it can’t move:
- Chalky white or gray residue on the coils – a sign of galvanic corrosion common in humid climates.
- Orange or reddish-brown speckling along the coil surface, especially on the underside where moisture sits.
- Small pits or flaking in the coating on the spring surface.
- A slight sag in one spring compared to the other if you have a matched pair.
- New noises – a popping or pinging sound on each cycle that wasn’t there before.
Those warning signs matter because a torsion spring that snaps under tension is genuinely dangerous. The coils are wound tight, and when they let go they release their energy fast. That’s why garage door garage door spring repair is a trained-professional job, not a weekend project. A visual inspection from a safe distance is fine. Anything closer than that should be left to someone who has the right winding bars and knows exactly how to control the tension.
Why extension springs fail too
Some older doors in Lehigh Acres use extension springs above the track instead of a torsion system above the door. Those rely on safety cables running through the center of each spring so that if one snaps, it doesn’t fly across the garage. If your door has extension springs, check that the safety cables are still routed correctly through the spring coils. If they were never installed, that’s worth a call.
If a spring has already snapped, don’t force the opener. Stop using the door and read our garage door repair page for what happens next. The other spring on a matched pair should usually be replaced at the same time as the broken one, since both have seen the same cycles and the same humidity. That’s how a professional estimates it, and it’s why we quote per spring rather than per pair.
Bottom Seal and Weatherstripping Inspection
The bottom seal is the flexible rubber or vinyl strip along the bottom edge of your door, where it meets the concrete. In Lehigh Acres, this strip is under constant strain from three sides: UV rays that break down the rubber, standing water that seeps under the door during wet-season storms, and the heat of the concrete slab itself. It’s the part we replace most often, and it’s the one most generic checklists barely mention.
What to look for on the bottom seal
Stand inside the garage with the door closed and look down at the seal. You’re looking for:
- Cracking or splitting along the length of the seal, especially on the side that faces the sun.
- Hardening – if the rubber feels stiff rather than flexible, it’s past its useful life.
- Gaps or daylight visible between the seal and the floor when the door is closed.
- Water intrusion in the garage after storms, which usually traces back to a failing bottom seal or side weatherstripping.
- Loose or missing fasteners holding the seal in its channel.
The bottom seal serves two jobs. It keeps rain and wind-driven water out of the garage, which is critical during Florida’s storm season. And it keeps insects and small animals out, which matters more than many homeowners realize. A seal that’s failing is usually a seal that’s stopped doing both.
Side and top weatherstripping
Don’t forget the sides and top. The vertical stops that frame the door and the top seal along the header get the same UV exposure. Look for curling edges, gaps where the door meets the trim, and spots where the seal has pulled away from the frame. Any of those are signs that the piece needs replacing. It’s a small repair compared to the damage that persistent water intrusion can do.
What a healthy seal looks like
A healthy bottom seal sits flush against the concrete across its whole length, with no gaps, no cracking, and enough flexibility that it wants to return to its original shape when you lift it. It should still be uniform in color, not sun-bleached on the outward-facing side. If yours isn’t, replacement is cheap and it protects a lot.
Surge Protection and Opener Battery Backup After Storm Season
Openers in Lehigh Acres take two hits every rainy season. First, the electrical grid nearby absorbs lightning strikes and power surges that can travel into a home’s wiring. Second, extended outages knock the opener out entirely until the grid comes back. Both are reasons to give your opener’s electronics a closer look each fall.
Surge protection for the opener circuit
A whole-home surge protector wired into the main panel is the most thorough protection, but at minimum, the opener’s dedicated circuit should be covered. Many newer LiftMaster openers are built with surge-resistant logic boards, but older units and models from other brands are more vulnerable. After a storm season, look for:
- Error codes or warning lights on the opener housing that weren’t there before.
- Chirps or beeps that repeat without a clear cause.
- Loss of remote memory – remotes that need re-pairing after a storm.
- One function working while others don’t – lights on but door won’t move, or vice versa.
- Battery backup that won’t hold a charge when the power is off.
If you find any of those symptoms and they don’t clear after a reset, the logic board may have taken damage. Proper garage door opener repair includes brand-specific diagnostics, which is why we ask what make and model you have before we arrive. A Craftsman from a hardware store and a Raynor from a builder grade install have very different boards, and a generic diagnostic almost never identifies the right part.
Battery backup status
Modern openers sold in Florida are required to include battery backup, so the door will still move during a power outage. That battery has a limited life, and after two or three years, it won’t hold enough charge to lift the door. Test it by killing power to the opener’s circuit for a few minutes and trying the door. If the door doesn’t move or barely moves, the battery needs replacing. It’s an inexpensive part and worth checking before hurricane season.
Photo-eye alignment after storms
The safety sensors at the bottom of the tracks can shift during high wind or heavy rain. Look at each sensor and confirm the small indicator light is solid, not blinking. Blinking usually means misalignment or an obstruction in the beam. Clearing the path and gently adjusting the sensor bracket often fixes it, but if they won’t line up, the bracket or the sensor itself may have been damaged.
Cable Drums and Bearing Plates in High Heat
The cables on your door run from the bottom corners up to drums at the top of the track, where they wind around bearing plates mounted on the wall. Every cycle spins those drums and loads the bearing plates. In a hot climate, the metal of the door expands and contracts through the day, and that cycling puts extra micro-strain on these components. Not dramatic, but cumulative.
How often to inspect in Lehigh Acres
A good rule is to check the cables, drums, and bearing plates twice a year. Once in early spring, before the summer heat builds, and once in the fall, after storm season has passed. That gives you a look at the components in two different states and catches wear before it becomes failure. For a door that cycles more than about four times a day, we’d shorten that to every four months.
What to look for
- Frayed or kinked cables – broken strands visible along the length, especially near where the cable attaches to the bottom bracket.
- Loose or slack cables – cables should be under tension; slack means something has shifted.
- Wobbling or grinding drums – a drum that doesn’t spin freely on its shaft needs attention.
- Audible grinding or squealing at the top of the track during operation.
- Rust stains around the bearing plates, which suggests moisture has worked in.
- Uneven wear on the drum grooves – deep grooves mean the drum is being strained.
Cables are under high tension, and like springs, they can cause serious injury if they let go. Look for damage but don’t try to remove, adjust, or re-tension a cable. That’s a job for a trained technician, and there’s no version of it that a homeowner should attempt on their own. If you see a frayed cable, stop using the door and have someone look at it.
Lubrication and bearing care
Where lubrication helps is on the bearing plates and the torsion shaft itself. A light application of a garage-door-specific lubricant on those moving surfaces each season helps them last. Skip the WD-40 – it thins away and attracts dirt. Use a silicone-based or white lithium lubricant made for garage door use. Apply it where metal meets metal and cycle the door a few times to work it in. Avoid the tracks themselves; they’re meant to be clean and dry.
A Month-by-Month Schedule for Lehigh Acres
The most useful thing we can give you is a schedule you can actually stick to. Rather than trying to remember twelve things at once, spread them across the year and match the tasks to what the weather is doing. Here’s how we recommend breaking it down for a Lehigh Acres home:
January – Post-holiday reset
After the busy holiday cycle, take a look at the whole door. Check the bottom seal for fresh cracking, look at the torsion springs for oxidation, and run the door through a full cycle while listening carefully. Lubricate the rollers, hinges, and bearing plates.
February – Tighten and adjust
Check all the fasteners on the hinges, brackets, and track. Bolts can loosen over a year of cycling. Tighten anything that’s wiggled free, but don’t over-torque. This is also a good month to test the manual release on the opener to make sure it works smoothly.
March – Spring balance test
With the door fully closed and disconnected from the opener, lift the door about halfway and let go. A well-balanced door will stay in place. One that drifts down or up is out of balance, which usually points to a spring issue. If it drifts, have a professional look at it.
April – Pre-summer deep check
Before the heat peaks, walk the whole door. Check the springs, cables, drums, and bearing plates. Test the safety sensors. Check the opener’s lights and error codes. This is the ideal month to catch anything that would otherwise fail in July.
May – Weather seal refresh
Check the bottom seal and the side weatherstripping before the wet season starts. Replace any pieces that are cracked or pulled loose. A healthy seal keeps water out during the heavy rains.
June through September – Mid-season monitoring
During storm season, do light checks once a month. After any major storm, look at the safety sensor alignment, test the battery backup, and check for water intrusion around the door opening. Lubricate the moving parts again in August.
October – Post-season reset
Storm season is winding down. Test the battery backup under load, check for surge-related opener symptoms, and clear any debris from the tracks. Recheck the bottom seal to see whether the summer took a toll on it.
November – Roller inspection
Rollers wear out. With the door closed, look at each roller in its hinge. If the nylon is worn flat, has grooves, or sounds gritty when you spin it, it’s time to replace. Squeaky rollers are the easy ones to catch; flat-spotted rollers are the ones that quietly cause the door to bind.
December – Year-end full cycle
Run a final full check of the whole system. Any part that made it through the year but doesn’t look healthy should be on a list to repair early next year. This is a good month to reset all the inspection notes for the coming year.
What You Can Check Safely and What You Shouldn’t Touch
Not every maintenance task requires a technician. A lot of it is observation, and knowing what healthy looks like helps you catch problems early. Here’s the split we recommend:
Safe to do yourself
- Visual inspection of the bottom seal, weatherstripping, and cables for visible damage.
- Listening for new or unusual sounds during door operation.
- Testing the manual release on the opener.
- Testing the door balance with the door disconnected and the springs under normal tension.
- Testing the safety sensors and their alignment.
- Testing the battery backup by killing power briefly.
- Lubricating rollers, hinges, and bearing plates with a proper garage door lubricant.
- Tightening visible fasteners on the hinges and brackets.
- Clearing debris and dirt from the tracks.
Not safe to do yourself
- Adjusting, winding, or replacing torsion springs – high-tension work requiring specialized tools.
- Removing or re-tensioning cables – failure can cause serious injury.
- Replacing the torsion shaft or drums – requires unloading the spring system first.
- Replacing a broken spring on your own – even a matched pair swap has to be done with the door in the right position, under controlled tension.
- Adjusting the torsion hardware or the door’s counterbalance – everything here is under load.
- Replacing the opener logic board or rewiring the opener circuit – involves mains voltage and warranty considerations.
A respectful rule of thumb: anything that involves touching a spring, a cable, or the electricity feeding the opener is a job for a trained professional. Everything else is safe for you to observe and, in most cases, to address yourself.
Common Mistakes to Avoid
We’ve seen the same handful of maintenance mistakes come up over and over in Lehigh Acres. Avoid these and you’ll save yourself a lot of repair calls.
- Skipping the bottom seal because it’s not on generic checklists. In this climate, the bottom seal is one of the first parts to fail, and if you only check things that appear on national maintenance guides, you’ll miss it. Inspect it every season, especially before and after the wet months.
- Ignoring early spring oxidation because the door still works. Chalky residue and light rust on the coils are warnings, not cosmetics. A door that still cycles fine can still have a spring that’s losing strength, and the eventual failure will be sudden.
- Spraying WD-40 into the tracks. It thins out the intended lubricant, attracts dust, and leaves the tracks grittier than you started. Clean tracks are the goal, and the intentional lubricant goes on the rollers and hinges, not the metal rails.
- Forgetting the battery backup until the power is out. A backup battery that hasn’t been tested in three years is a battery that probably won’t lift the door when you need it. Test it during April, before storm season.
- Assuming any handyman can handle a spring or cable. Spring and cable work is genuinely different from general home repair, and a technician who doesn’t do it every week doesn’t have the specific tools or experience to do it safely. Ask whether the person you’re calling specializes in garage doors.
- Only checking the door after it breaks. Maintenance is cheap compared to repair. A seasonal check catches a failing bottom seal, a corroded spring, or a dying opener board before any of them stop the door.
- Ignoring the safety sensors because “they usually work.” Photo-eyes are the door’s main safety feature. If they’re misaligned, the door can close on a person or a pet. Test them each month, and if they don’t reverse the door when blocked, stop using the door until it’s fixed.
When to Call a Professional
Not every problem requires a call, but several do. Get a professional on the phone if a spring has already snapped or looks like it’s about to, if a cable is frayed or visibly slack, if the door has come off its tracks, if the opener has stopped responding entirely, or if the door has become hard to lift or drops on its own. Any of those is a sign of a problem that can get worse or become dangerous if you keep cycling the door, and none of them is a job for a homeowner.
We’re your Lehigh Acres Garage Door Repair Pros, and garage doors are all we work on. Lehigh Acres Garage Door Repair Pros offers free estimates in Lehigh Acres – call (877) 492-2397. We answer 24/7. Fast dispatch from 7am to 7pm, Sunday through Friday. Our technicians have up to 15 years of experience with torsion and extension spring work, and we’re familiar with the major brands you might have on your door, from LiftMaster and Chamberlain to Craftsman and Raynor. When the door won’t move, neither can your day, and emergency service is a genuine part of what we do.
Frequently Asked Questions
Twice a year is the sweet spot for most Lehigh Acres homes: once in early spring before the heat builds and once in the fall after storm season. If your door cycles more than four times a day, we’d recommend every four months. The inspections that most often catch a failure here are the bottom seal, the spring corrosion check, and the battery backup test, and those are quick enough to do yourself between professional visits.
The bottom seal is the most common failure, followed closely by torsion spring corrosion. The heat, humidity, and UV exposure in Southwest Florida wear on those two components faster than the door’s other parts. A bottom seal that cracks or hardens lets water in during storm season and stops sealing out insects, and a spring that’s started to oxidize gives less warning before it snaps. If you want to cut down on repair calls, check both every season.
Yes, lubricating the rollers, hinges, and bearing plates is a task most homeowners can do safely. Use a garage-door-specific lubricant, not WD-40, and apply it in small amounts to each surface, cycling the door a few times to work it in. Keep the tracks themselves clean and dry rather than lubricated. Anything involving springs, cables, or the opener’s wiring is a different story and should be left to a trained technician.
Look for chalky white or gray residue, orange or reddish-brown speckling, small pits in the surface, or a slight sag in one spring if you have a matched pair. New popping or pinging sounds during operation are another sign. If you see any of those, have the door inspected before the next cycle. A snapped torsion spring is dangerous, so a visual inspection from a safe distance is fine but don’t try to wind, adjust, or replace the spring yourself.
It’s worth it in Lehigh Acres. Lightning strikes during storm season can travel through the grid and into a home’s wiring, and the opener’s logic board is one of the more vulnerable components in the garage. A whole-home surge protector at the main panel gives the best coverage, and at minimum, the opener’s circuit should be protected. After any major storm, watch for error codes, loss of remote memory, or a backup battery that won’t hold a charge; those often point to surge damage.
Four things, in this order: the safety sensors, the battery backup, the bottom seal for water intrusion, and the tracks for any debris. The sensors are the most likely to be knocked out of alignment by wind or rain, and misaligned sensors will stop the door from closing. Next, kill power briefly to test the battery backup. Then walk the perimeter and look for water intrusion around the door. If the door is visibly off its tracks, stop using it and call for help.
Most maintenance tasks are similar across brands, but diagnostics and parts aren’t. Craftsman doors and Raynor doors have different opener hardware, different spring configurations, and different replacement parts. When something needs to be repaired rather than just checked, matching the repair to the exact make and model matters. That’s why we ask what brand you have before we arrive, and it’s why brand-specific expertise saves time and money.
Late spring, before the wet season, is the ideal window. Replacing the seal in April or early May means you’ve got a fresh seal going into the heaviest rain months. If your current seal is already cracked or hardened, don’t wait for a specific month; replace it as soon as you notice the damage. A failing seal lets water in through every storm, and that can cause problems well beyond the door itself.
The Bottom Line
A garage door maintenance checklist for Lehigh Acres has to match what breaks here, and that’s bottom seals, torsion springs, and opener electronics, in that order. Generic advice will tell you to lubricate the rollers and call it a year; that advice was written for a different climate. Check the seal each season, watch the spring coils for oxidation, test the battery backup before storm season, and inspect the cables and bearing plates twice a year. Anything involving a spring, a cable, or the opener’s electrical work should go to a trained technician. Our technicians have up to 15 years of experience and work on doors from the major brands you’re most likely to have, including LiftMaster and Chamberlain. If something doesn’t look right, or it’s been a while since the door had a proper inspection, call us. The estimate is free, and the written price sets the final number before any work starts.
Ready to get your Lehigh Acres garage door on a real maintenance schedule? Call (877) 492-2397 for a free estimate. We answer 24/7, with fast dispatch from 7am to 7pm, Sunday through Friday. Whether it’s a maintenance check, an unexpected repair, or a full new installation, we’re your garage door specialists for garage door repair, opener diagnostics, spring replacement, and everything in between. Garage doors are all we do, and we do all of it.
Written by the team at Lehigh Acres Garage Door Repair Pros.
See the difference
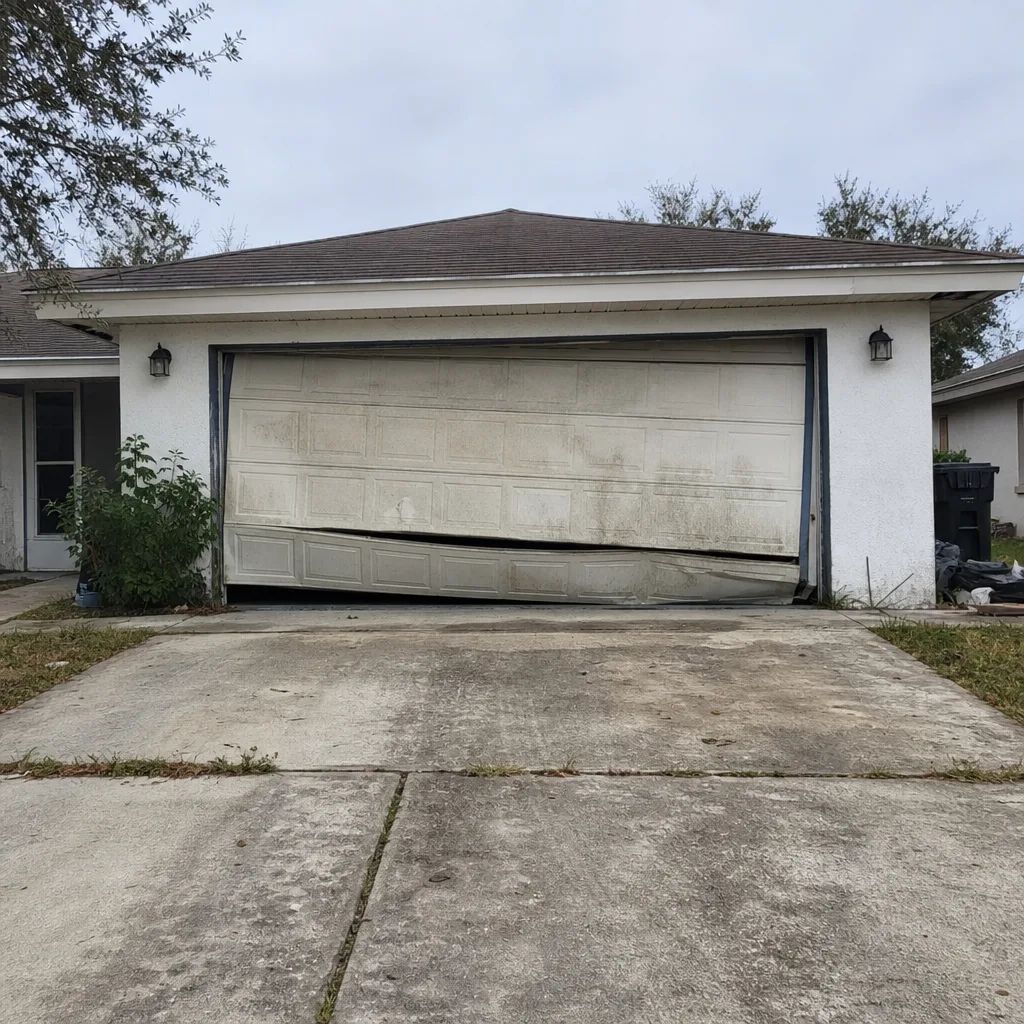 Before
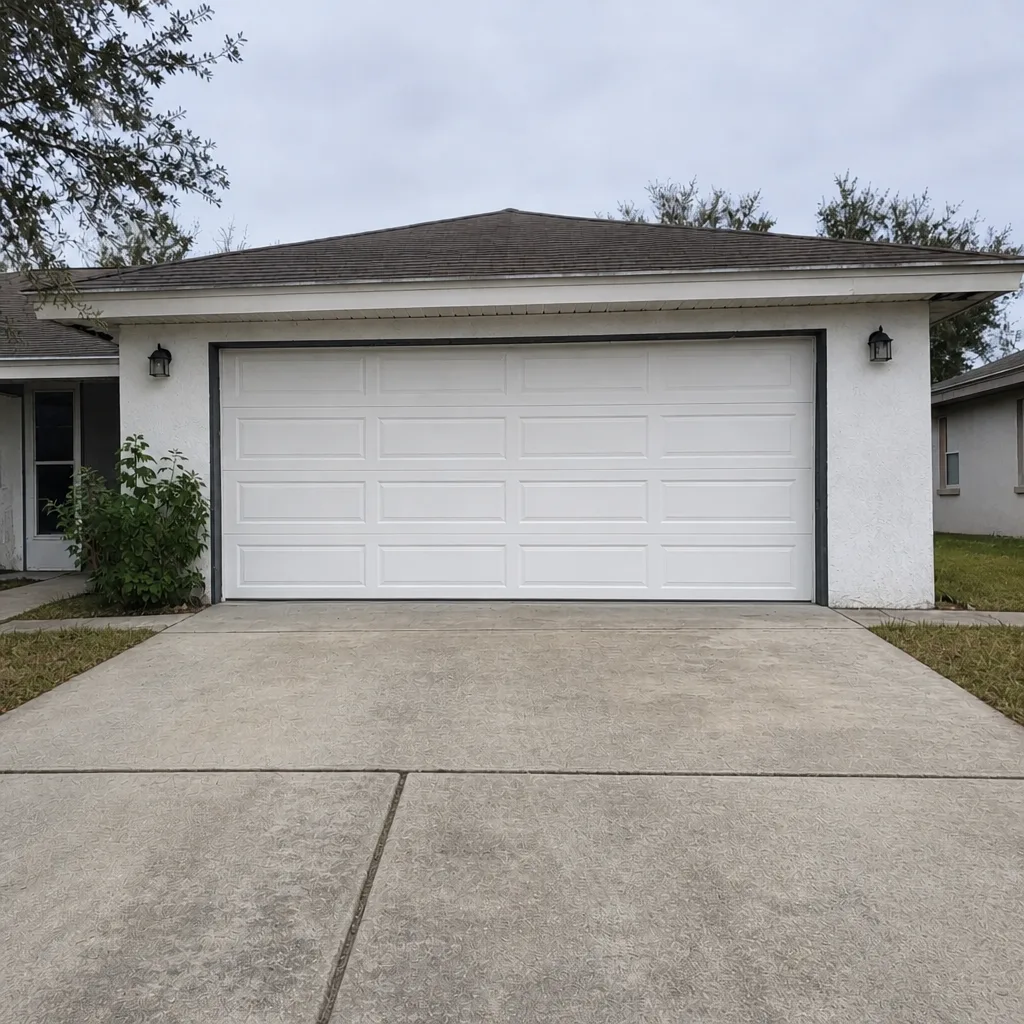 After
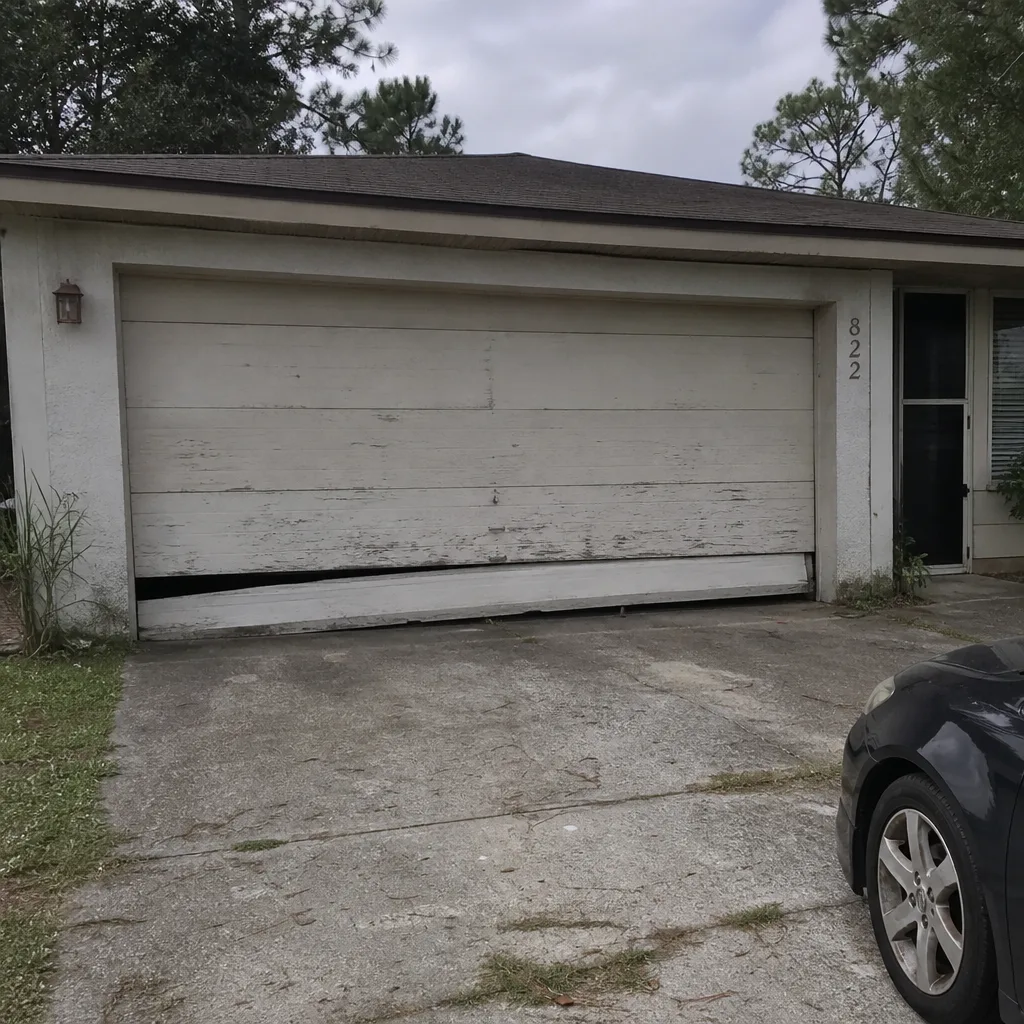 Before
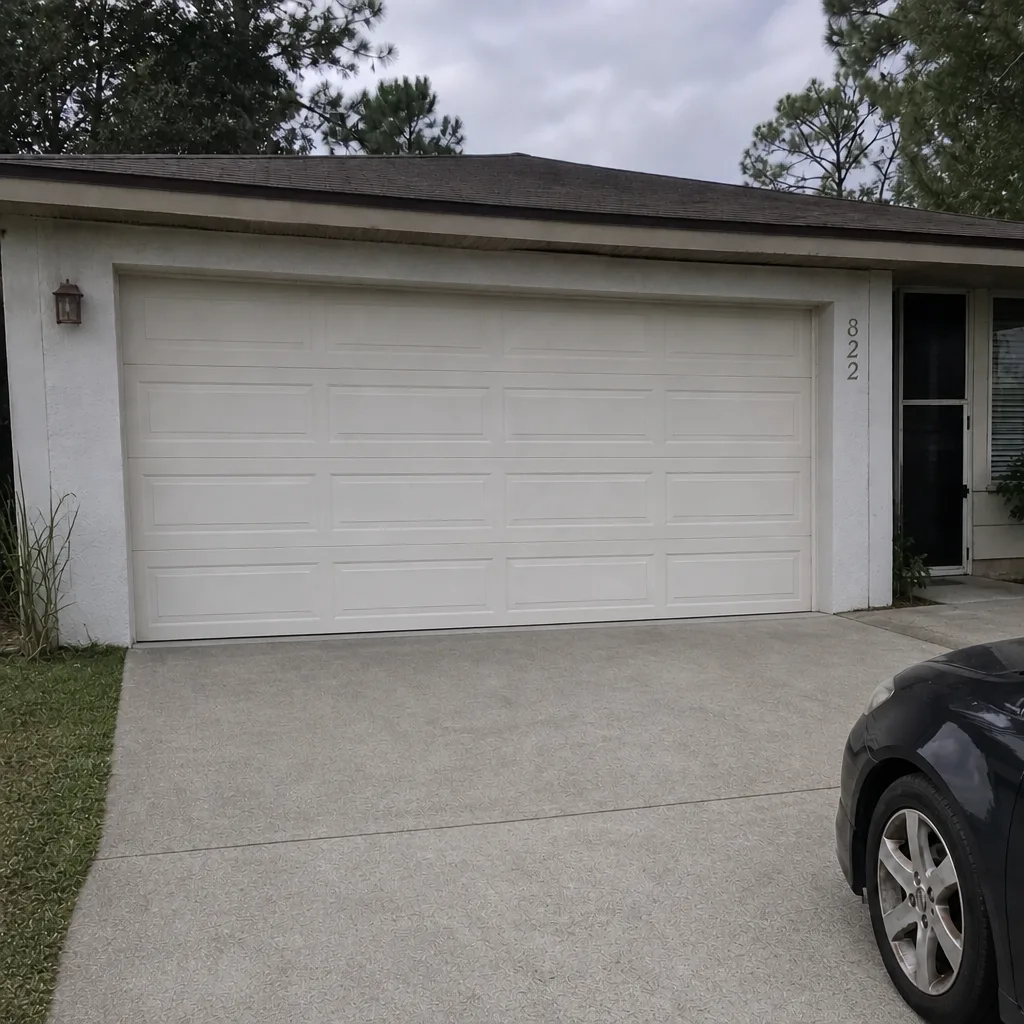 After
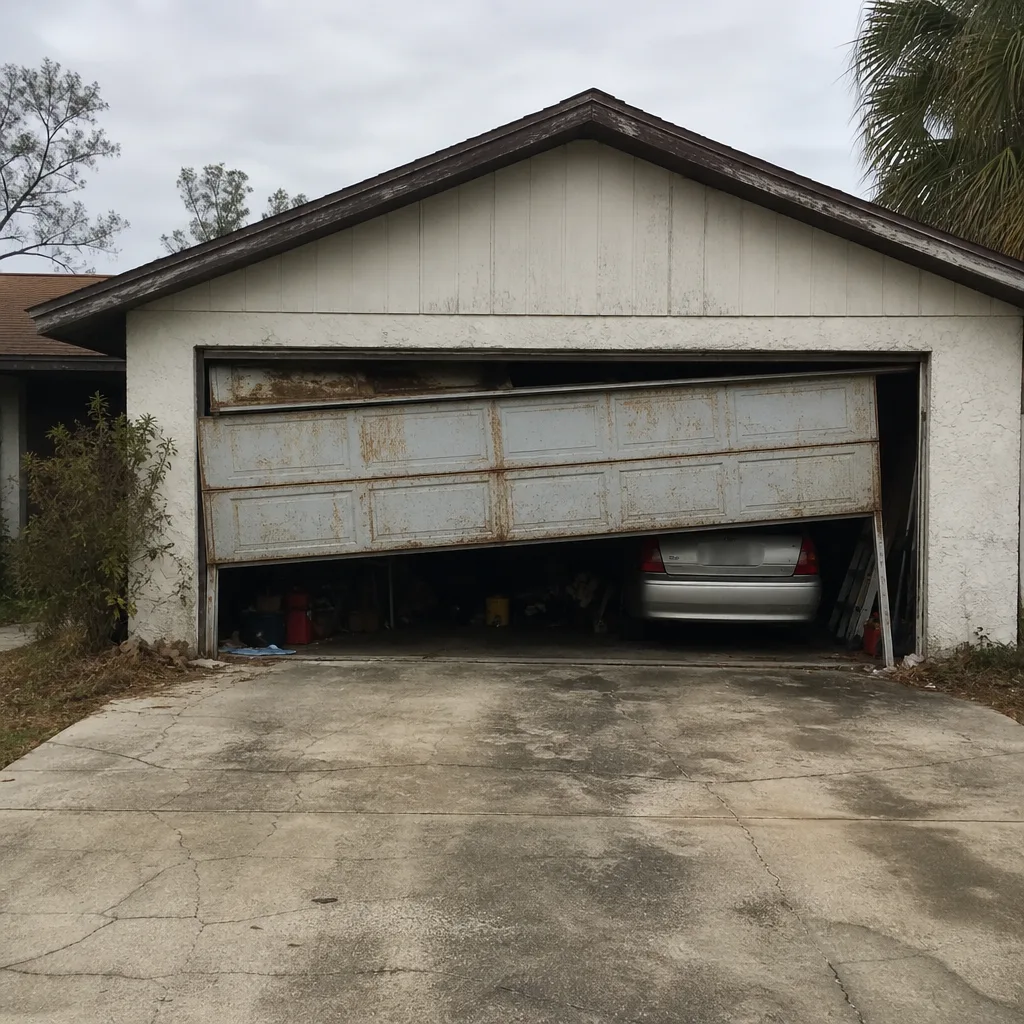 Before
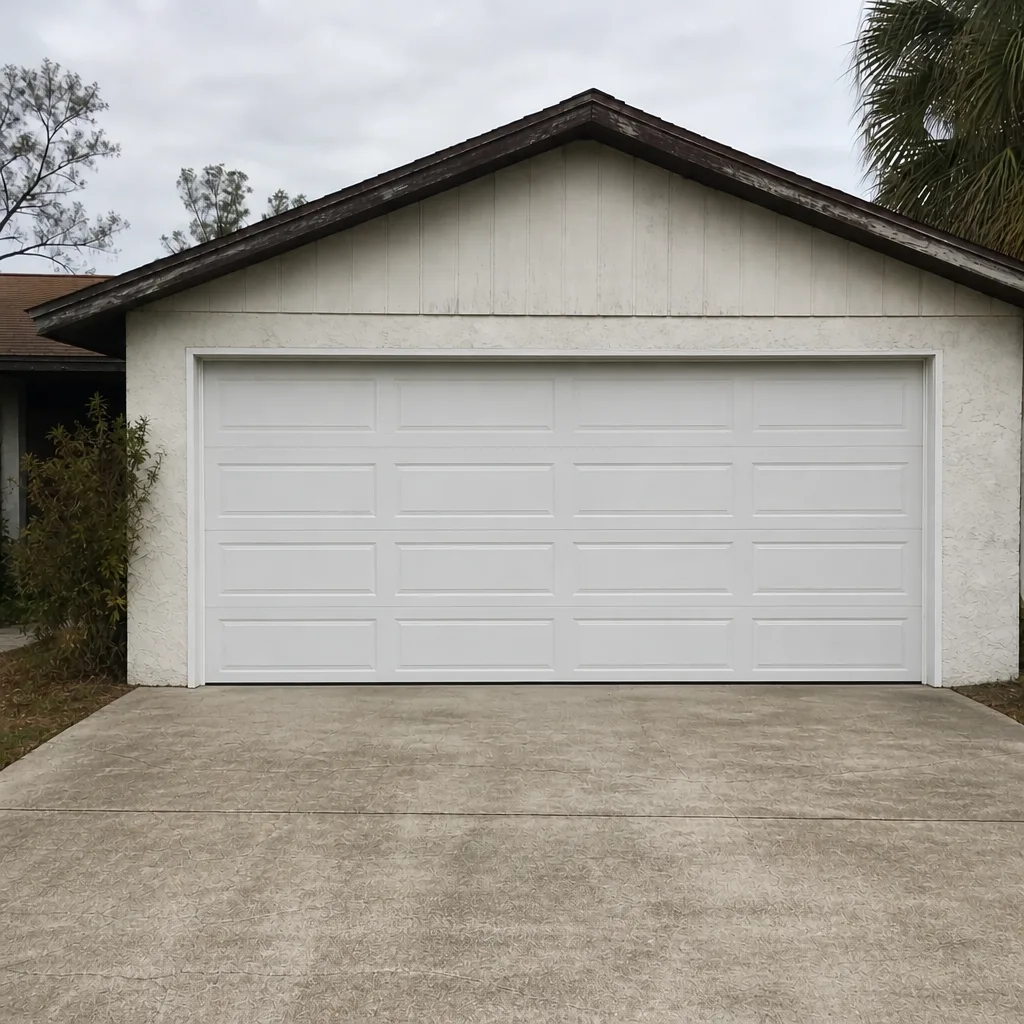 After